Routine grain dryer maintenance is important for both safety and performance of this hard-working equipment. Vita Builders provides pre-harvest servicing of grain dryers to help ensure you’re ready when the new crop comes in. (Note: Vita Builders does not clean out dryers.)
Following are tips for cleaning and maintaining dryers pre- and post-harvest (adapted from GSI resources).
Pre-harvest tips for high-capacity grain dryers
- De-energize and disconnect, lockout and tag or block off all mechanical, electrical, hydraulic, and pneumatic equipment that presents a danger, particularly grain-moving equipment, prior to conducting any service.
- Clean the equipment.
- Using proper respiratory and fall protection, clean the dryer exterior and interior to remove all debris, which may block airflow or affect operation. Low- or high-pressure water can be helpful, but keep water away from electrical boxes and controls. Lightly lubricate any areas prone to high wear or rust after this type of cleaning before proceeding with the next steps.
- Using proper respiratory protection, carefully clean the control boxes. Soft brushes, a vacuum, and/or compressed air will help you clean thoroughly and completely. Wipe down the interior with a cloth as the final step.
- Inspect the electrical components for indication of overheating or physical damage that might affect operation and have them immediately repaired by a qualified service technician if necessary.
- Check all electrical connections to ensure they are tight to prevent operational issues and/or damage from overheating. A systematic tightening at first start-up and a retightening every 10 years thereafter will help maintain proper operation.
- Carefully check the gas supply lines, burner, vaporizer, and burner gas train for leaks and make sure all are clean and free of debris, particularly the burner gun or exit area. Have a qualified service technician repair any problems found. Make sure any rubber hoses are in good condition and replace every 10 years or according to local gas ordinances.
- Inspect all motors and ensure they are securely fastened in place. Lubricate bearings, if applicable, but be careful to not over-lubricate.
- Check all belts to make sure they are in good shape and properly tensioned, and that all safety shields are present.
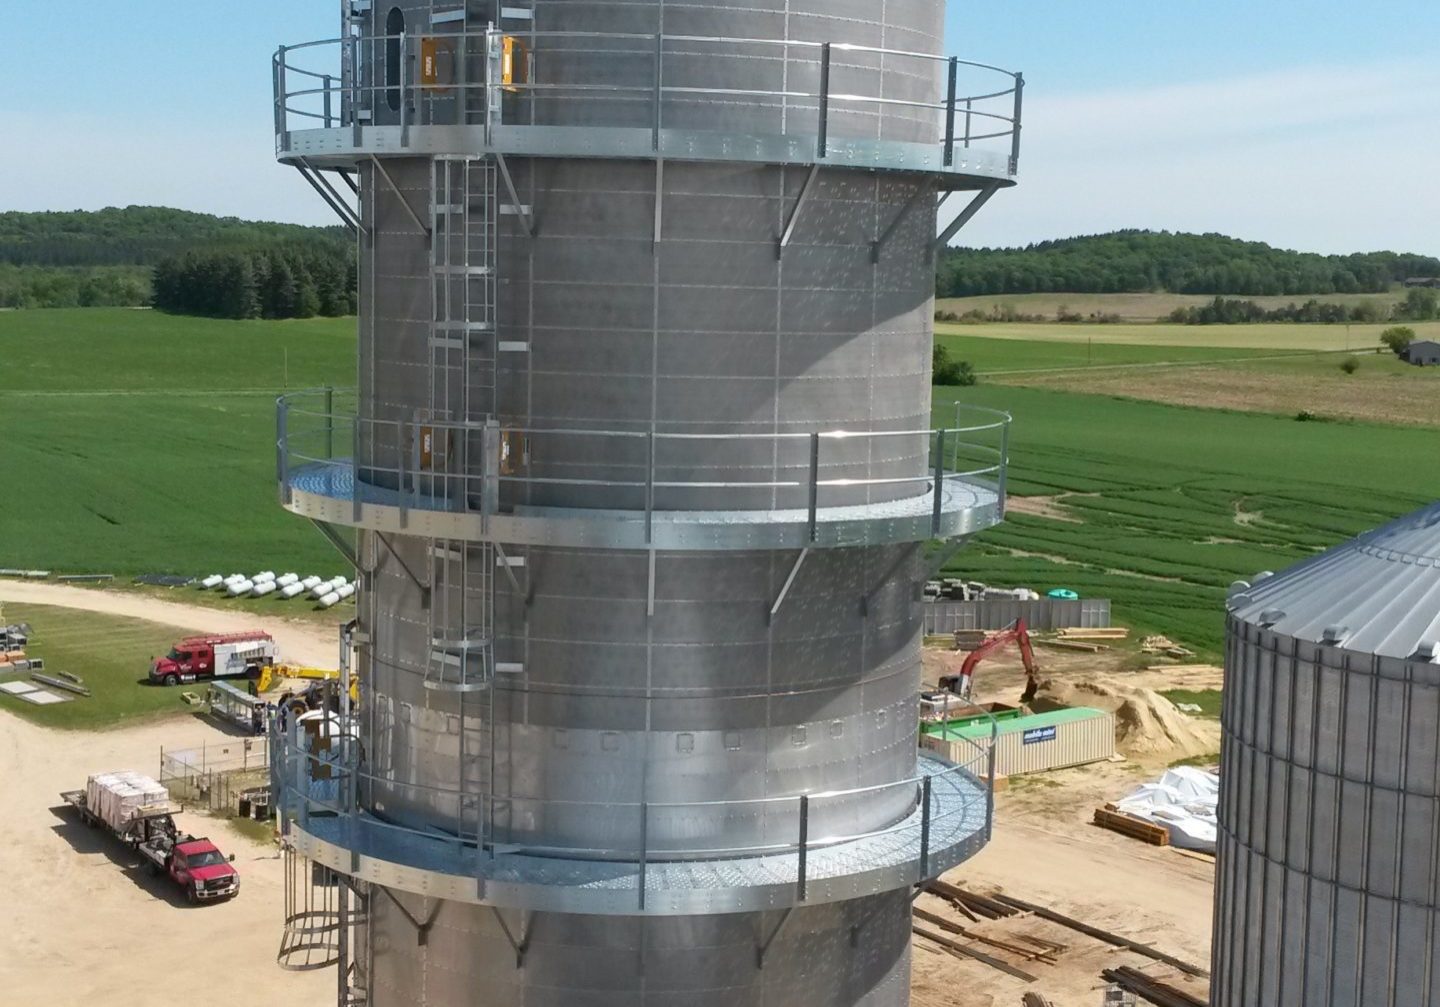
- Inspect all ladders and platforms to ensure that they are safe to use.
- Lubricate any bearings that are not permanently sealed. Oil wood-type bearings if present. Inspect for condition and replace if necessary.
- Lubricate all chains and check for proper tension. Replace if in disrepair.
- Check the oil level of any gearbox and change the oil according to the dryer’s maintenance schedule.
- Always practice proper safety with respiratory equipment and fall protection when working around any grain dryer.
Post-season dryer maintenance
- Perform post-season clean-up of the grain drying system before cold winter weather arrives.
- Disconnect all power and turn off the gas supply before proceeding with any post-season maintenance.
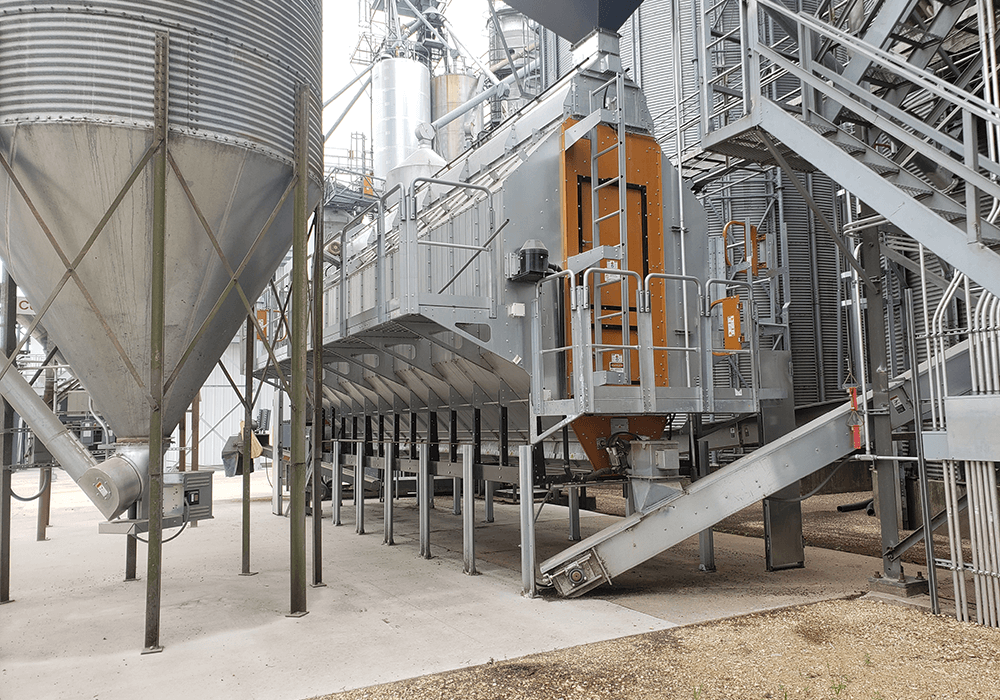
- Pay special attention to your grain dryer. Open all accessible doors, such as outside metering roll access doors, 2-foot bottom auger cleanout doors and inside plenum access doors. Completely clean out all remaining material with either pressurized air or a high-pressure sprayer to prevent foreign material from degrading augers, auger troughs, and metering rolls of your dryer. After sufficiently cleaning these areas, leave these access doors open during the non-drying season. (But don’t forget to close these access doors before next year's use!)
- Inspect power and control panel boxes for accumulation of bees wings and insect infestation. Utilize your vacuum system provided with Farm Fans PGC pneumatic cleaner or use a shop vac to vacuum these areas. While you are cleaning, be aware of any possible areas that may allow rain, snow, or even birds to get into these boxes and make any necessary repairs.
- Inspect burner-ignition wires, flame-detection wires, and control and power panel wiring for deterioration and replace if necessary.
- Inspect all wiring connections that might have loosened during the drying season and tighten.
- Visually inspect bearings to see if there is any indication of one needing replaced and make a note to replace ones that are suspicious. Do the same with any drive belts and chains and lubricate those chains for the winter.
- Walk around your grain dryer system and make detailed notes of what needs to be looked at by your grain-handling equipment dealer. Schedule an appointment with the dealer early to accomplish any needed repairs or replacements in a timely fashion.


